My Digital Art Processes
My Digital Art Processes
When I am doing digital art, I will tend to use one of my relatively rehearsed processes, but I am always open for experimentation. I wanted to give some background and insight into what those processes are for people who might be interested.
I want to break this down so you can potentially follow my steps progressively throughout the process. Each is slightly different, but they also produce different end results. So, I will choose the process that fits the end I am looking to produce. These have been developed in a progression as I improved with my digital art. Therefore, I think the best way to represent them here is to step you through how I progressed both in art and in each process.
I started with just the basic brushes, and I lean on them a lot, but now I do have some uniquely designed brushes for specific uses. However, any of these techniques can be done (and I have done them) with the original brushes. “Custom” brushes don’t make the art, they make the process to create the art quicker. That is all they do.
Initially, my art was a little rougher than it is now. I was still learning (and actually am still learning to this day) what different settings, blend modes, etc. will produce and how to make them work. I was trained as a traditional artist, so some of that translates over, but there are so many things you can do in digital art that are either beyond reasonable in traditional or require tools I have never owned and never had access to. A lot of these relate to high end graphics work, printing processes, etc.
Because I was still coming to grips with the separation from my art via digital art (I am a very tactile person) I started with a simpler style somewhat related to the process of 2d animation style (cell shading/highlighting/etc.)
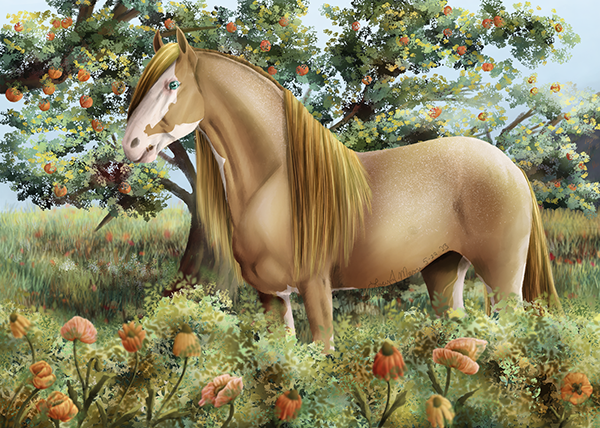
This style served me a long time and allowed me to experiment and grow within a constraint of style, which I eventually opened up to more refined styles, let’s start there.
Note: Halcyon was made with basic brushes.
My Cell Shading Phase
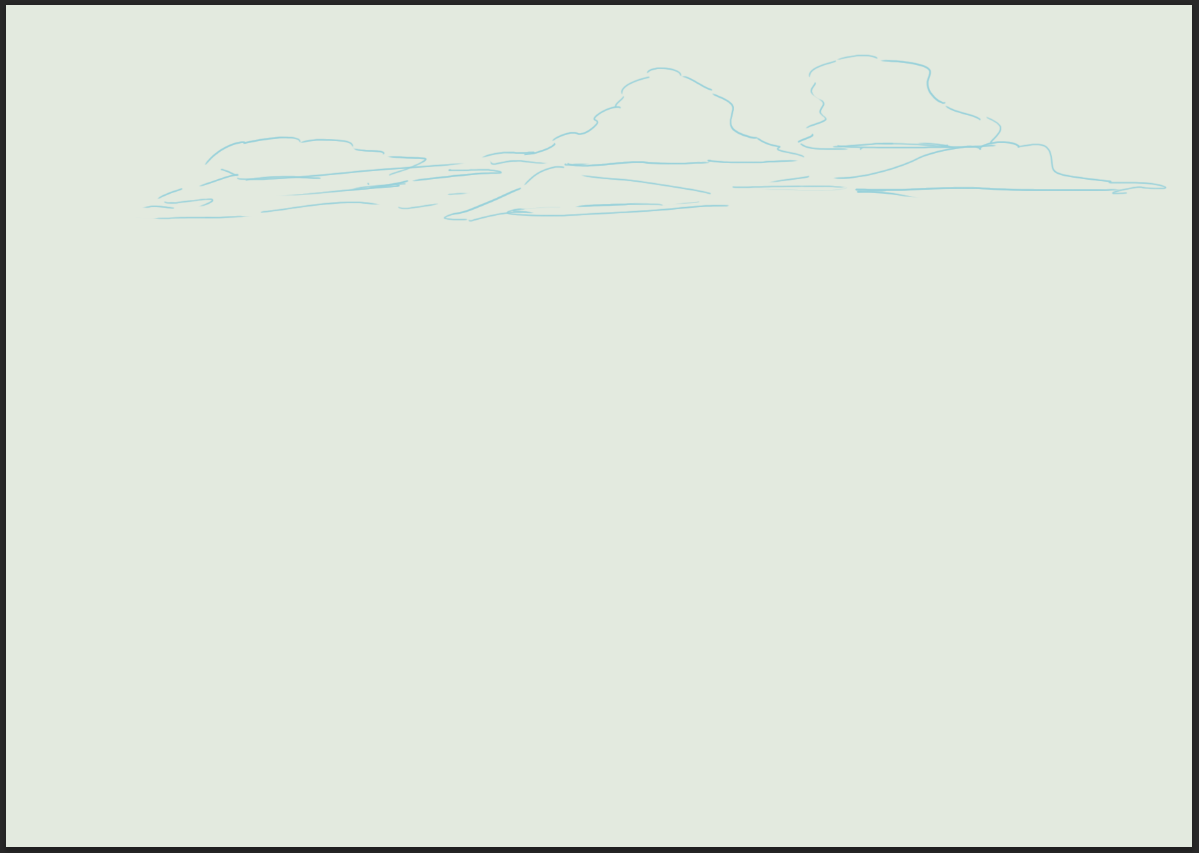
To start, I would begin sketching out my idea, using different layers as though they were moving through space towards me so I could know what is in front of everything else.
At this stage, thes do not need to be refined, I am just working out the compositions, and will very often make drastic changes in the sketch and plan as I go along.
As it progresses, things get a bit busy and chaotic, but this is where using separate layers really helps me out. I can turn things off and on as I work and focus on what’s important when it is important.
Once I have an internal composition, I will often look for the right frame, and sometimes have parts of the image explode out of the framework.
The next step is to draw the final lines to see what is going to actually show and what will be obscured.
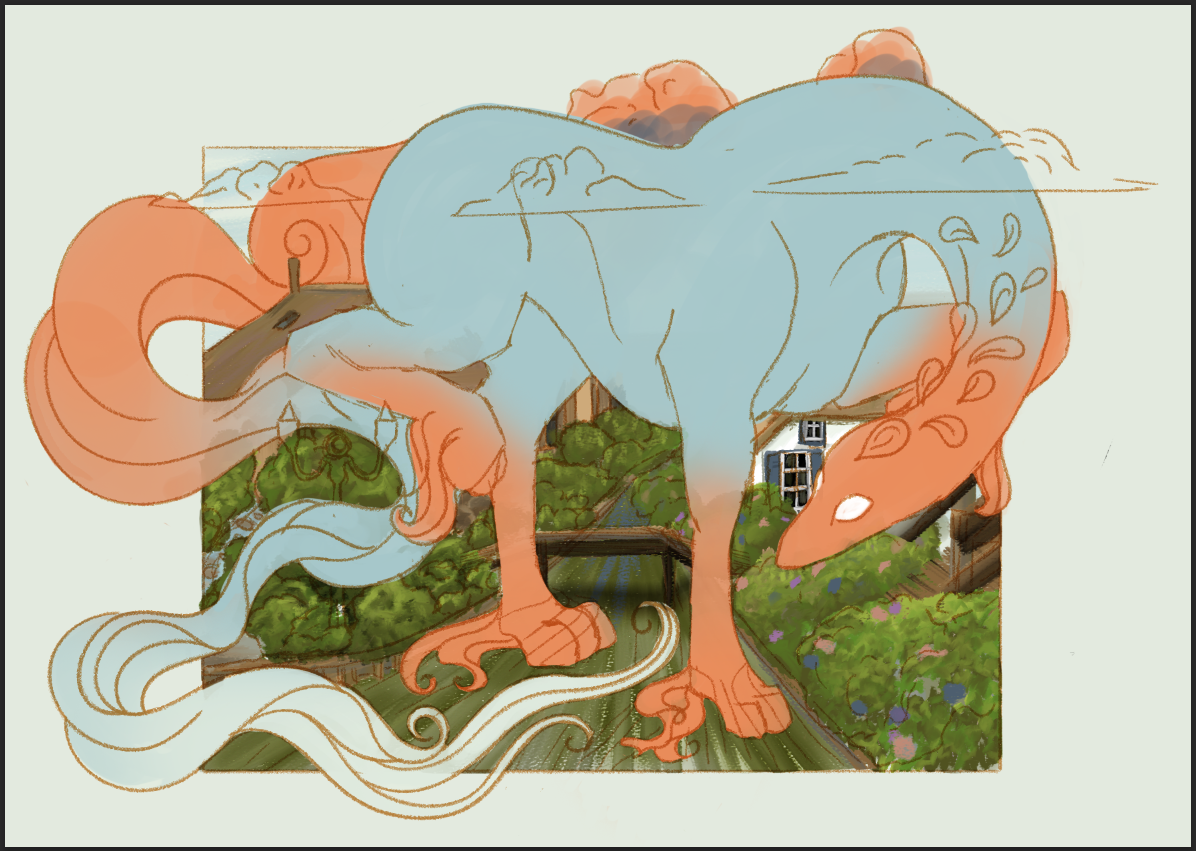
I then will start to lay color in and do some general blending to make the color combos what I am looking for. There is no shading or highlighting at this stage. Just making flat color what I want it to be. Once again, I will start at the back and move to the front.
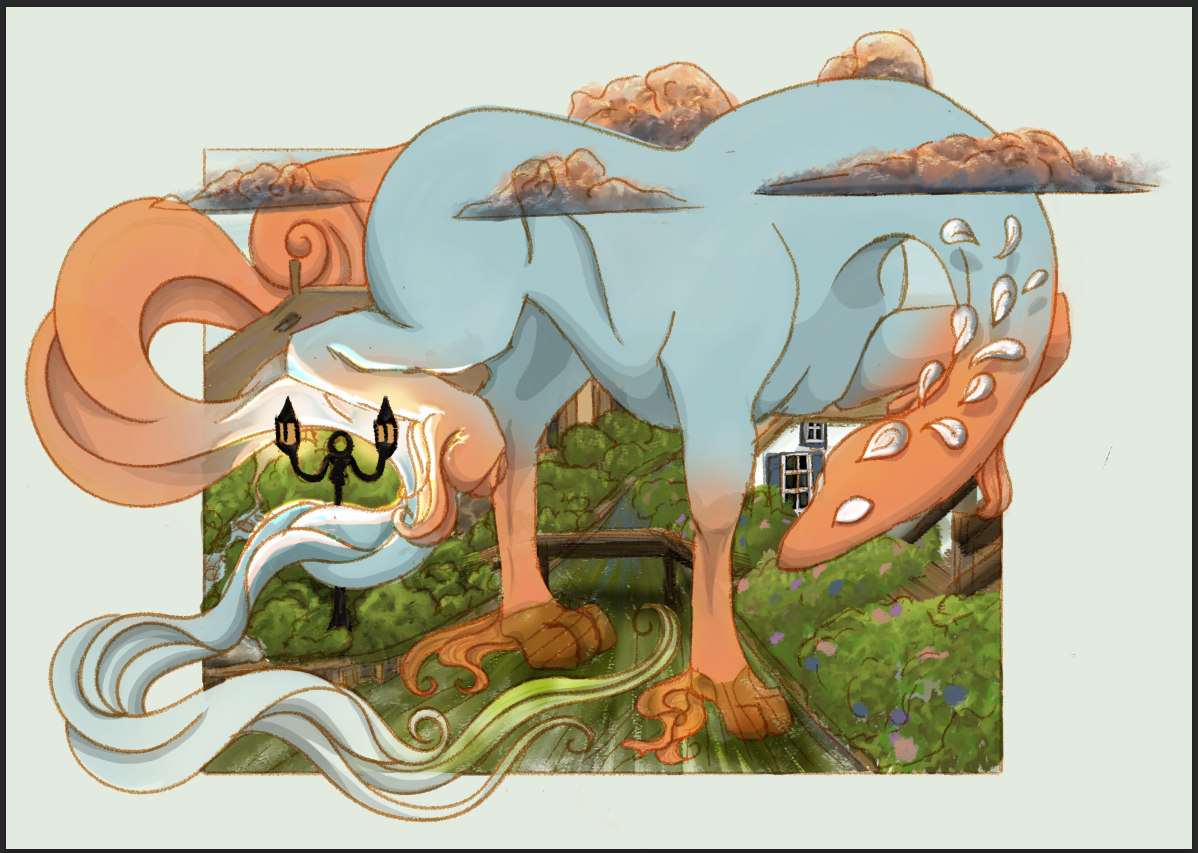
The next stage is very subtle, but if there is any adjustments, or details that need to be put in not counting shadows and highlights, I do them now. This time it included a few small tweaks to the water, adding in Halcyon’s mane, and a little cleanup of overlaps.
Now is when the magic comes in. Using the same neutral gray for both shadows and highlights, I will put in these on separate layers and make them clipping masks of the layer that they are detailing. These layers will then be changed to multiply or subtract for most shadows, and linear dodge (add) or divide for most highlights. There will be a few exceptions to this, but this is the most common procedure.
Shadows - Round 1
Highlights - Round 1
Next I want more detail on that light that Halcyon is trying so carefully to avoid. It’s going to be turned on, so with several layers, I created a lighting affect on his tail and leg. This time I used a layer for dodge, a layer for divide, and a layer for screen in that order.
With that strong lighting, Halcyon needs some stronger shadows (mostly), so I will build up layers using multiply and subtract to get the shadows stronger and more defined.
I then do the same thing with the highlights, and use Hard Mix as the blending mode, I will play around with the opacity a lot on this making them fit in the picture (hard mix can be harsh).
A few final adjustments to opacity levels, put a signature on it, and after removing the linework, this is a finished piece. The color of the background was chosen so it would look like Halcyon and the clouds were exploding out of the frame and “larger than life” because he is a huge creature by description.
I will post another breakdown of my process in a future blog, but this is pretty much where my current style “began”
I do hope this was enjoyable for everyone and helpful for some. If you have any questions, feel free to reach out to me through my contact information. I would be glad to answer them.
Until next time - take care of yourselves and each other,
Lucy
Note: Halcyon was a commission done for KaijuRomance on Deviant Art. The character belongs to them.


